Image Objects
Creating an Image
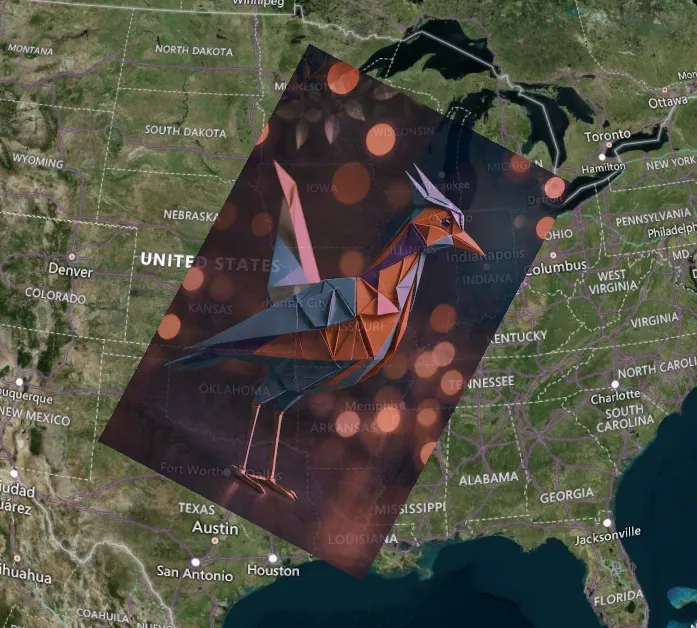
Images can be added to a scene by selecting the New Object button in the Scene Manager panel or
by adding an image property to an existing object.
Updating Image Properties
Selecting an entity will open its properties in the Properties panel.
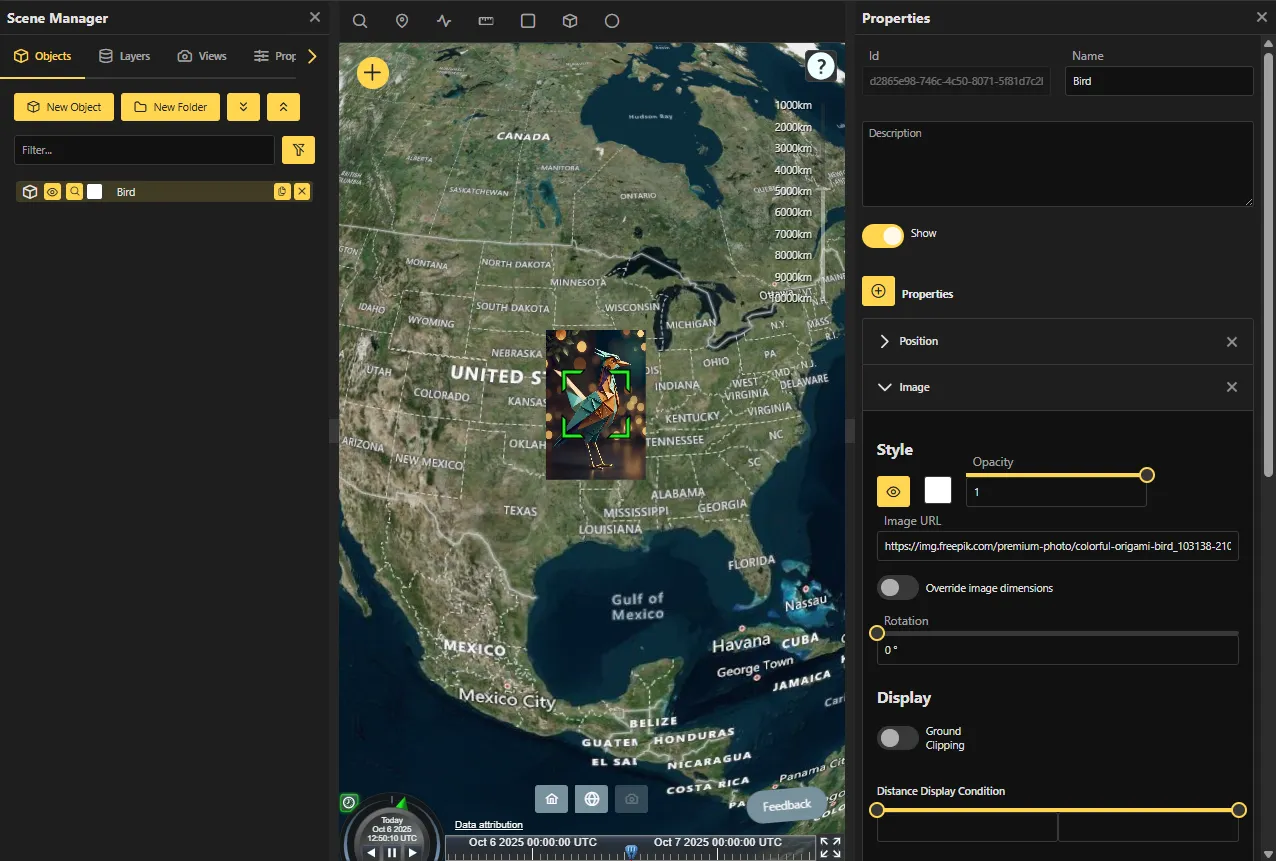
The properties for an image object are broken into several sections. The Image section contains
all the properties that can be modified for an image, while the Position section contains
properties that affect the position of the image on the globe.
Style
Use the controls below to change how the image looks.
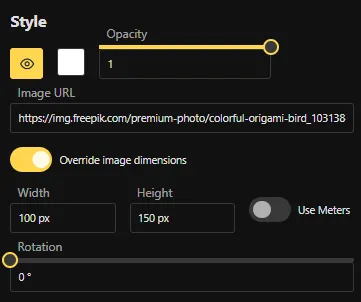
- Show: Controls whether the image is visible.
- Color: Controls the color tint of the image.
- Opacity: Determines the opacity of the image. A value of 0 is fully transparent; 1 is fully opaque.
- Image URL: The picture to be displayed by providing the full URL address (for example, a PNG file or an in‑app image).
- Override image dimensions: If checked, the image will be displayed at the dimensions specified in the Width and Height fields; otherwise the image will be displayed at the dimensions of the image itself.
- Use meters: If checked, the height of the image will be measured in meters. If unchecked, the height of the image will be measured in pixels.
- Rotation: The rotation of the image in degrees around its center.
Display
Control when and how the image is shown in the scene.
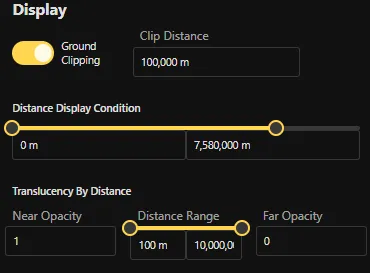
- Ground clipping: If checked, the image will be obscured by the ground if the image intersects with the ground.
- Clip distance: The distance from the camera at which the image will be clipped, in meters.
- Distance display condition: The left value controls the minimum distance, in meters, from the camera at which the image is displayed, while the right value controls the maximum distance, in meters, from the camera at which the image is displayed. You can use the sliders or the text fields to set the minimum and maximum distance values.
- Translucency by distance: Make the image more or less see‑through depending on distance. For example, if the minimum distance is 0 with a Near Opacity of 1 and the maximum distance is 1000 with a Far Opacity of 0, the image will be fully visible at 0 meters and will fade out toward 0% opacity at 1000 meters.
Offsets
Adjust the image’s positioning relative to its anchor point and the camera.
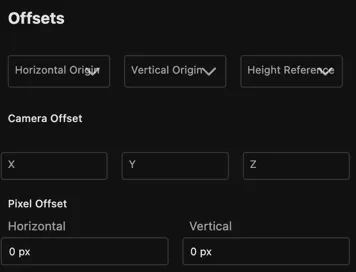
- Horizontal origin: Determines the horizontal position of the image relative to the center of the image.
- Vertical origin: Determines the vertical position of the image relative to the center of the image.
- Height reference: Determines the height reference of the image.
Absolute— The image is placed at the specified height above the underground globe representation.On Ground— The image is placed at the height of the terrain.Relative To Ground— The image is placed relative to the surface of the terrain.
- Camera offset: The offset in meters from the view of the camera.
- Pixel offset: The offset in pixels from the center of the image.
Scale
Control how the image scales with distance.
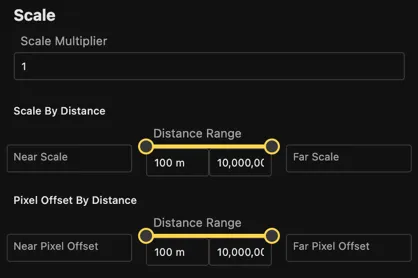
- Scale multiplier: A multiplier to apply to the image size.
- Scale by distance: The scale of the image determined by the distance from the camera. The near scale value controls the scale at the near distance and the far scale value controls the scale at the far distance. This allows for a smooth transition between two scale values across the given distances.
- Pixel offset by distance: The scale of the image in pixels. The near scale value controls the scale at the near distance and the far scale value controls the scale at the far distance.