Position
Adding an object’s position
All objects must have a position to appear on the globe. You can set an object’s position in the Properties panel by selecting the plus (+) button and choosing Position.
There are two ways to set a position:
- A single, static position.
- A table of positions over time.
Single position
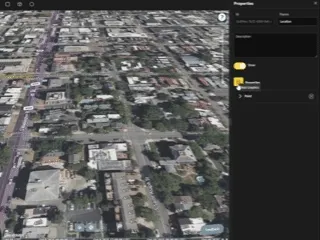
Start by selecting the globe icon in the Position panel to enable interaction with the globe.
- Left mouse click: Insert a single position at the cursor location.
- Left mouse drag: Drag the inserted point to update its position.
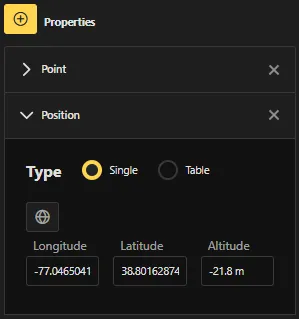
When finished, click the globe icon again to stop editing. You can fine-tune the position using the longitude, latitude, and altitude inputs.
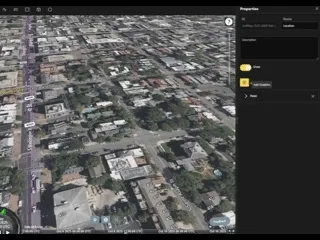
Table position
To switch to table mode, set Type to Table.
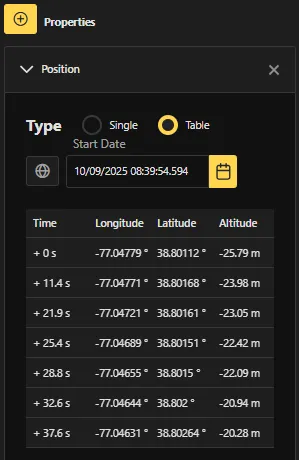
Field descriptions:
- Start Date: The reference time for all positions. Changing this value shifts all positions to the new time.
- Time: The elapsed time from the Start Date when the object will be at the specified location.
- Longitude: The longitude in degrees.
- Latitude: The latitude in degrees.
- Altitude: The height in meters.
Start by selecting the globe icon in the Position panel to enable interaction with the globe.
- Left mouse click: Insert a position at the cursor location using the current timeline time.
- Additional left clicks insert new points at the cursor location at the timeline’s current time.
- When you have inserted the final point, click the last point to complete editing.
- The last point is always colored differently from the other points.
- Left mouse drag:
- Drag a point to update its position.
- Click or drag the connecting line to insert a new point at the selected location on the line.
When finished, click the globe icon again to stop editing. You can fine-tune positions using the time, longitude, latitude, and altitude inputs.